
Product Prototyping: Methods, Costs, and Best Practices
Prototyping is one of the most critical stages in the product development process. It transforms ideas and concepts into physical or functional models that can be tested, evaluated, and improved. Without prototyping, businesses risk moving forward with unvalidated designs, leading to costly mistakes during production.
For hardware products, prototyping plays an even more significant role. It allows teams to assess mechanical structures, test electronics, and refine user interactions before committing to large-scale manufacturing. Each iteration brings the product closer to a reliable and market-ready solution.
However, prototyping is not just about building models; it’s about learning quickly and making informed decisions. The right approach can reduce development time, improve product quality, and ultimately save high costs.
In this guide, Tektos Ecosystems will let you explore different prototyping methods, break down costs, and share best practices to help you move from concept to production with confidence.
What is Product Prototyping?
Product prototyping is the process of creating an early physical version of a product, so you can test, evaluate, and improve it before building the final product.
It’s like making a “test version” of your product that you can hold, examine, and interact with.
Before a business invests in mass production, they create a prototype to answer key questions:
Will this product work the way we expect it?
Is the design practical and easy to use?
Does it solve the problem we designed it for?
What needs to be improved?
A prototype can be very simple or very advanced, depending on the stage of development. The goal is to make the idea tangible, so you can test how it performs under real-life conditions.
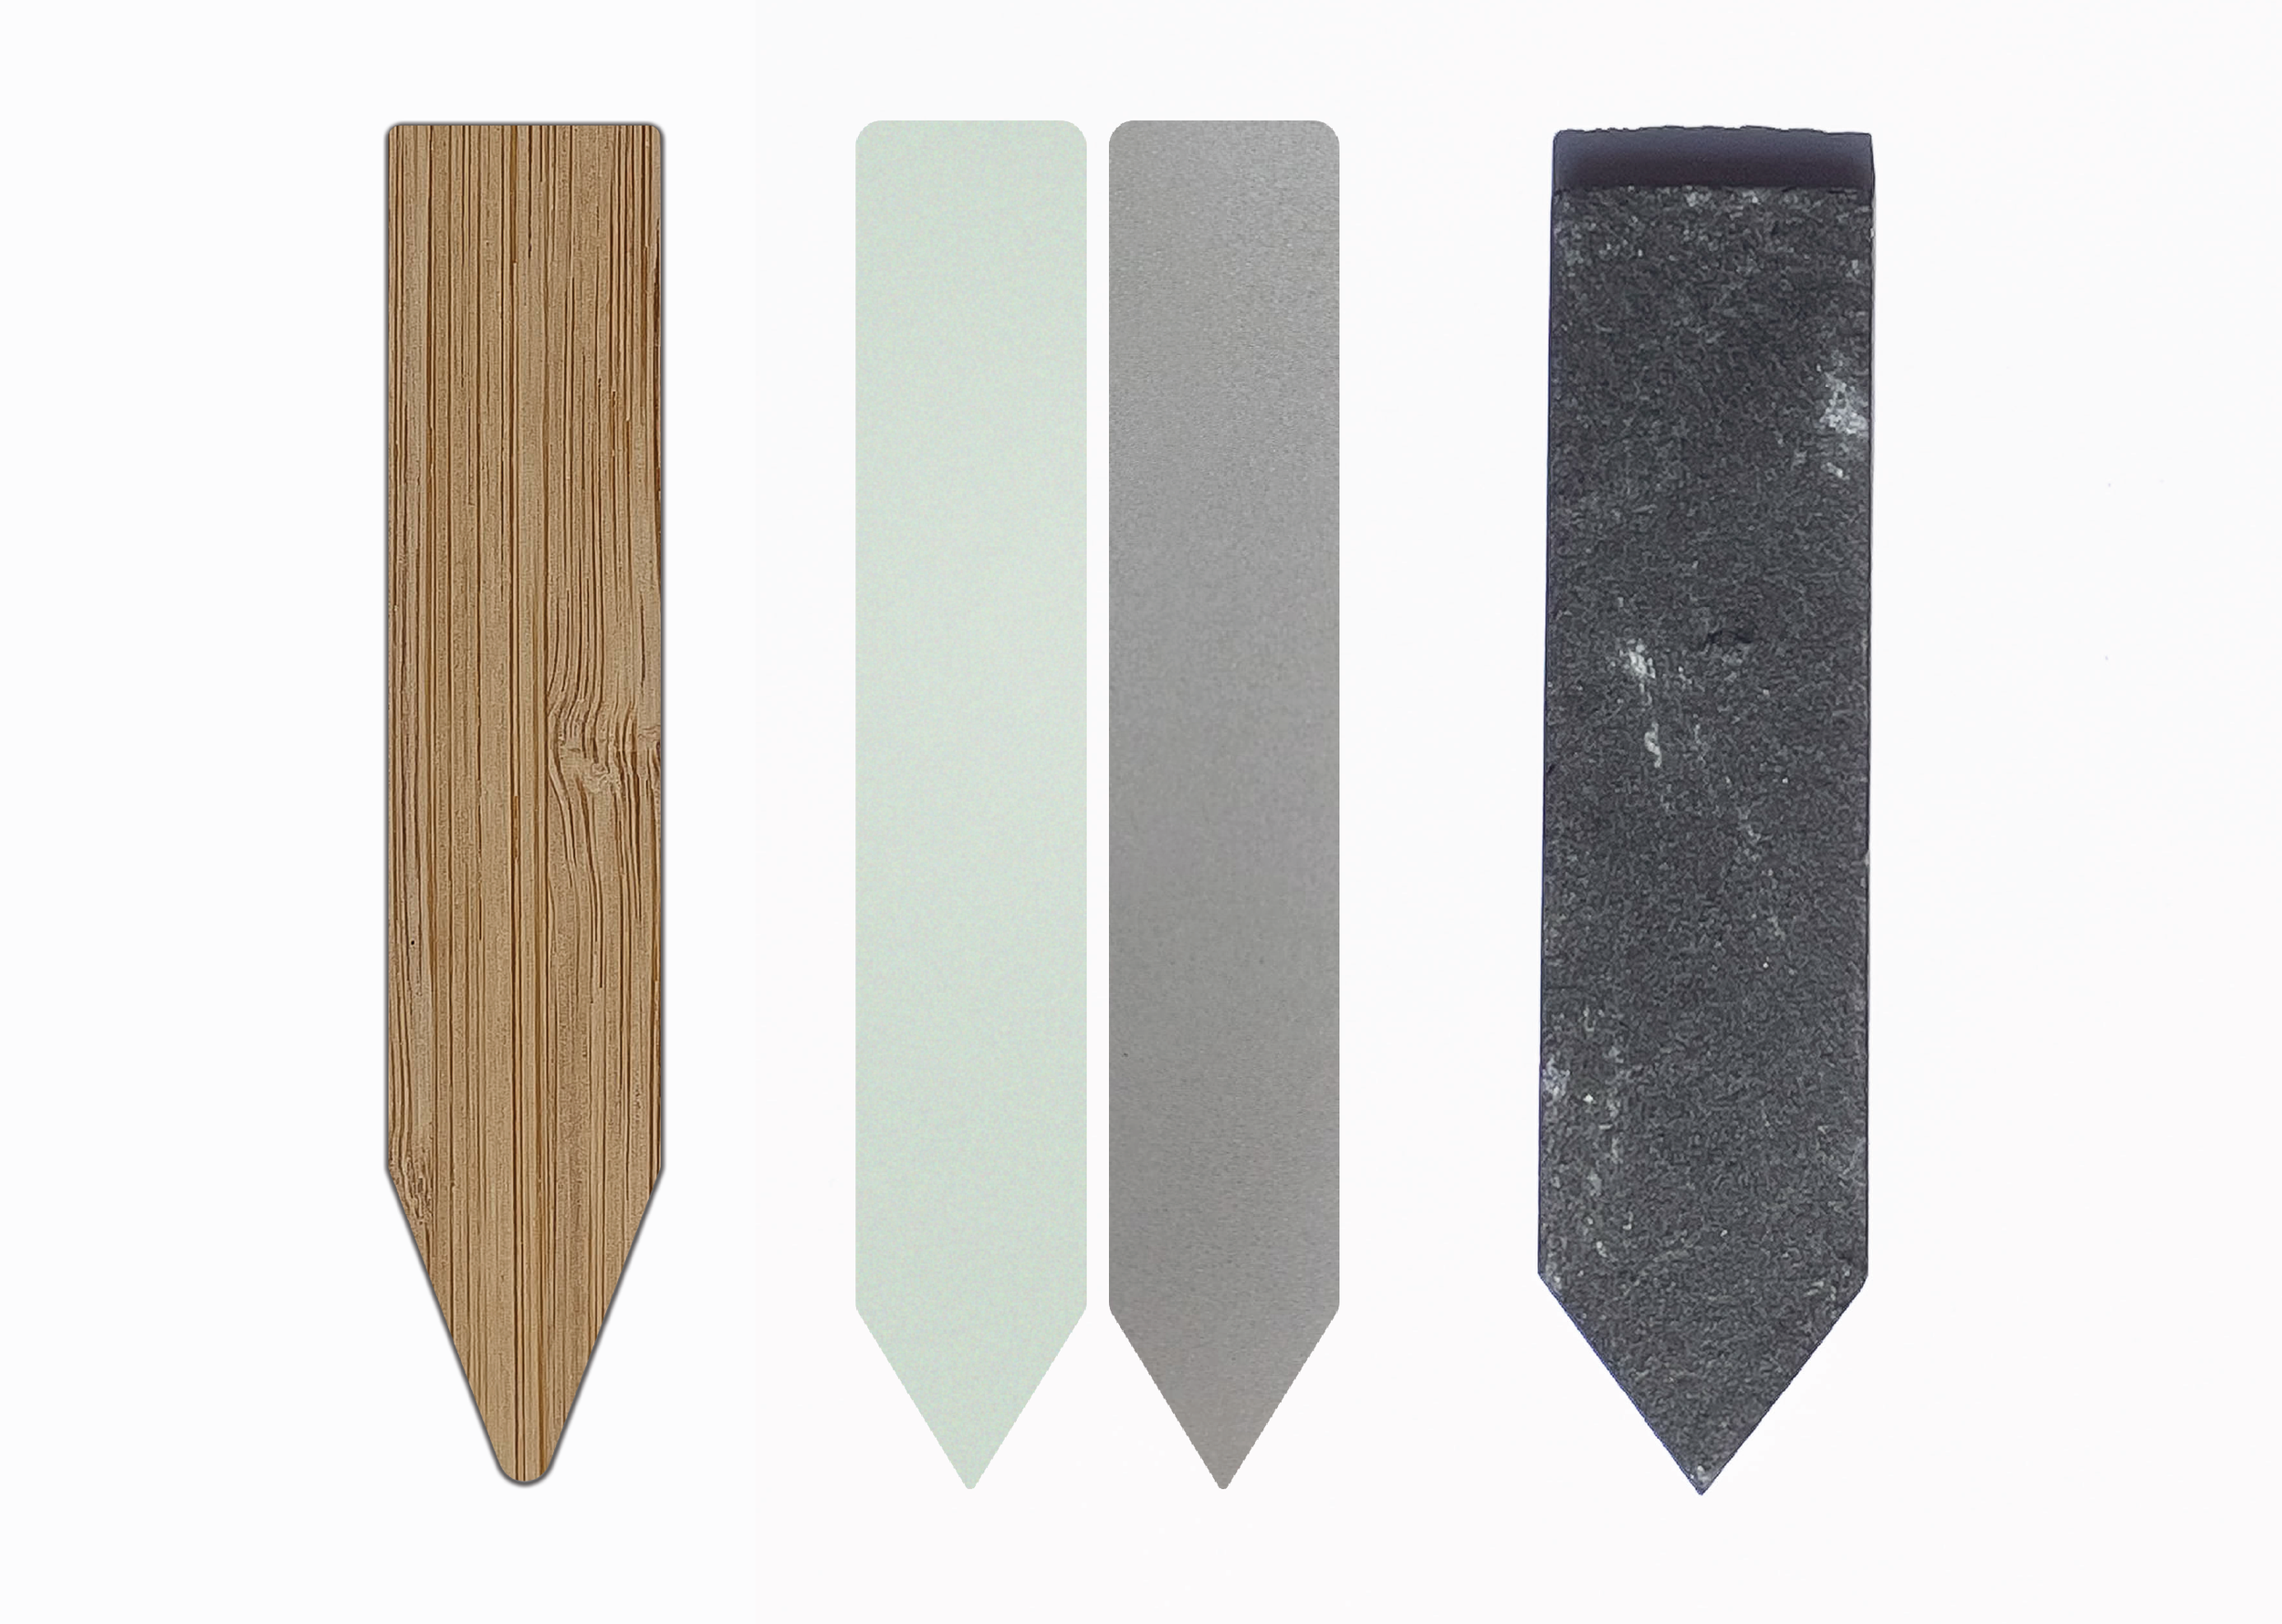
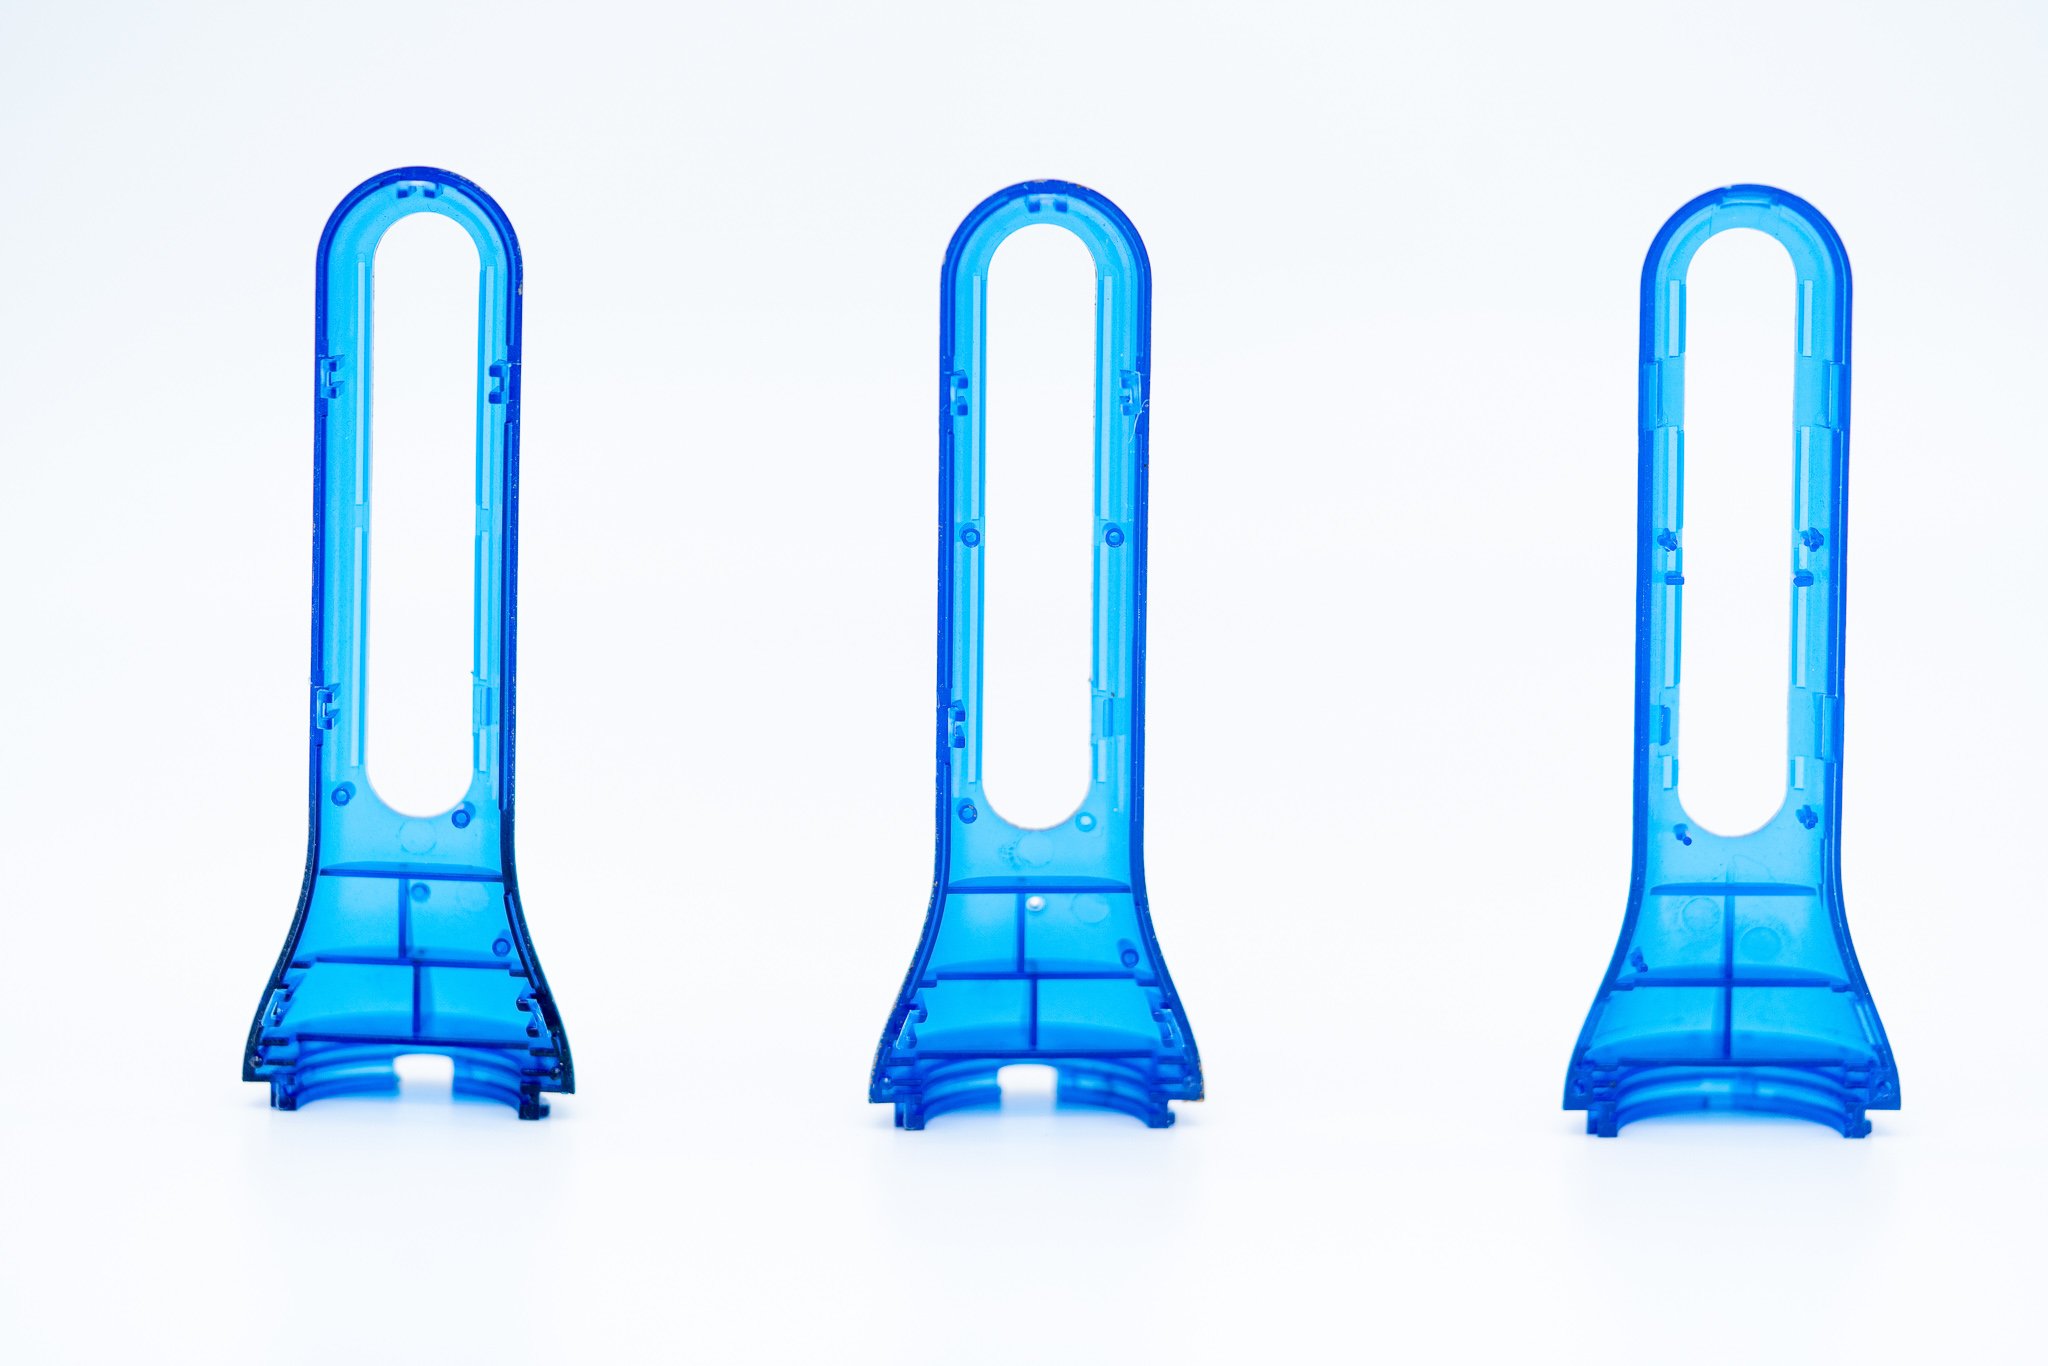
For example, in our Plant Diary project, our team initially used bamboo-based wood material because it looked like a strong fit for the concept. But when we started testing it, real problems began to show up, like dark discoloration appearing over time and the layer slowly bending from moisture exposure.
Instead of pushing forward with weak material, we reviewed our options and tested alternatives. We switched to porcelain ceramic material as it handled moisture better and stayed stable under real-life use, making it the right choice for the final product.
That's the purpose of product prototyping, learning early, and fixing problems early. It reduces risk because finding mistakes in prototypes is much cheaper than finding them after mass production.
You can think of prototyping as the bridge between an idea and the real product:
Idea → Prototype → Testing → Improvement → Final Product.
Types of Prototypes
Concept Sketch Prototype
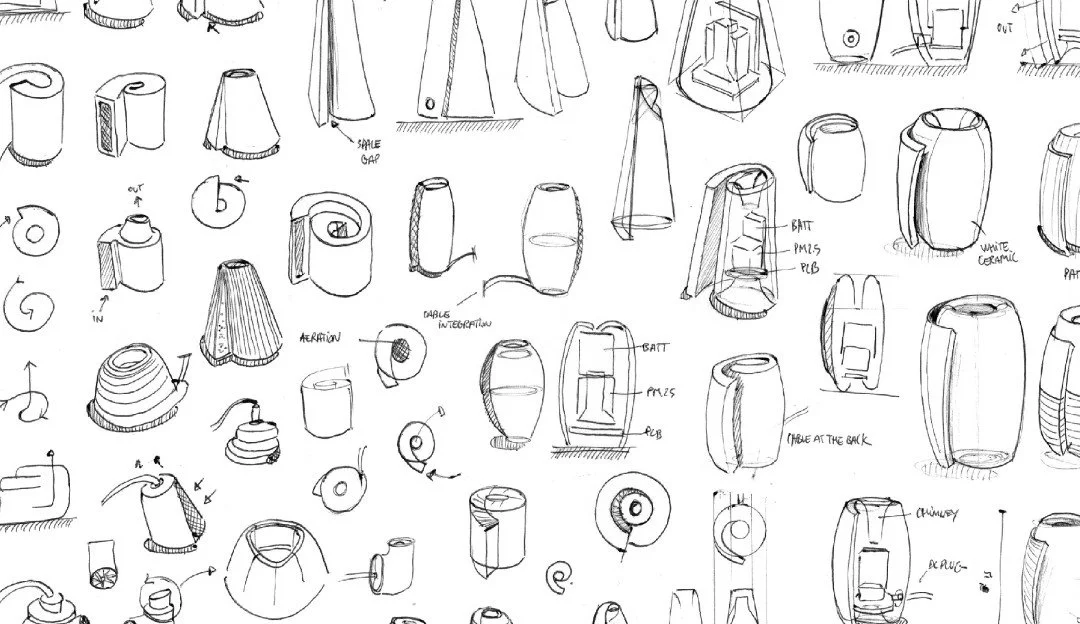
This is the simplest form of prototyping.
You start by sketching your ideas through industrial design processes on paper (2D) or digitally (basic 3D) to visualize how the product might look and work instead of building anything physical right away.
It can be rough drawings, quick outlines, notes, or even multiple design variations. This helps you explore different ideas, shapes, features, and layouts in a simple way. It doesn't have to be perfect or detailed.
If you are working with a team, a concept sketch makes communication easier since everyone can see the concept clearly and give feedback before moving on to physical prototypes.
Rapid Prototype
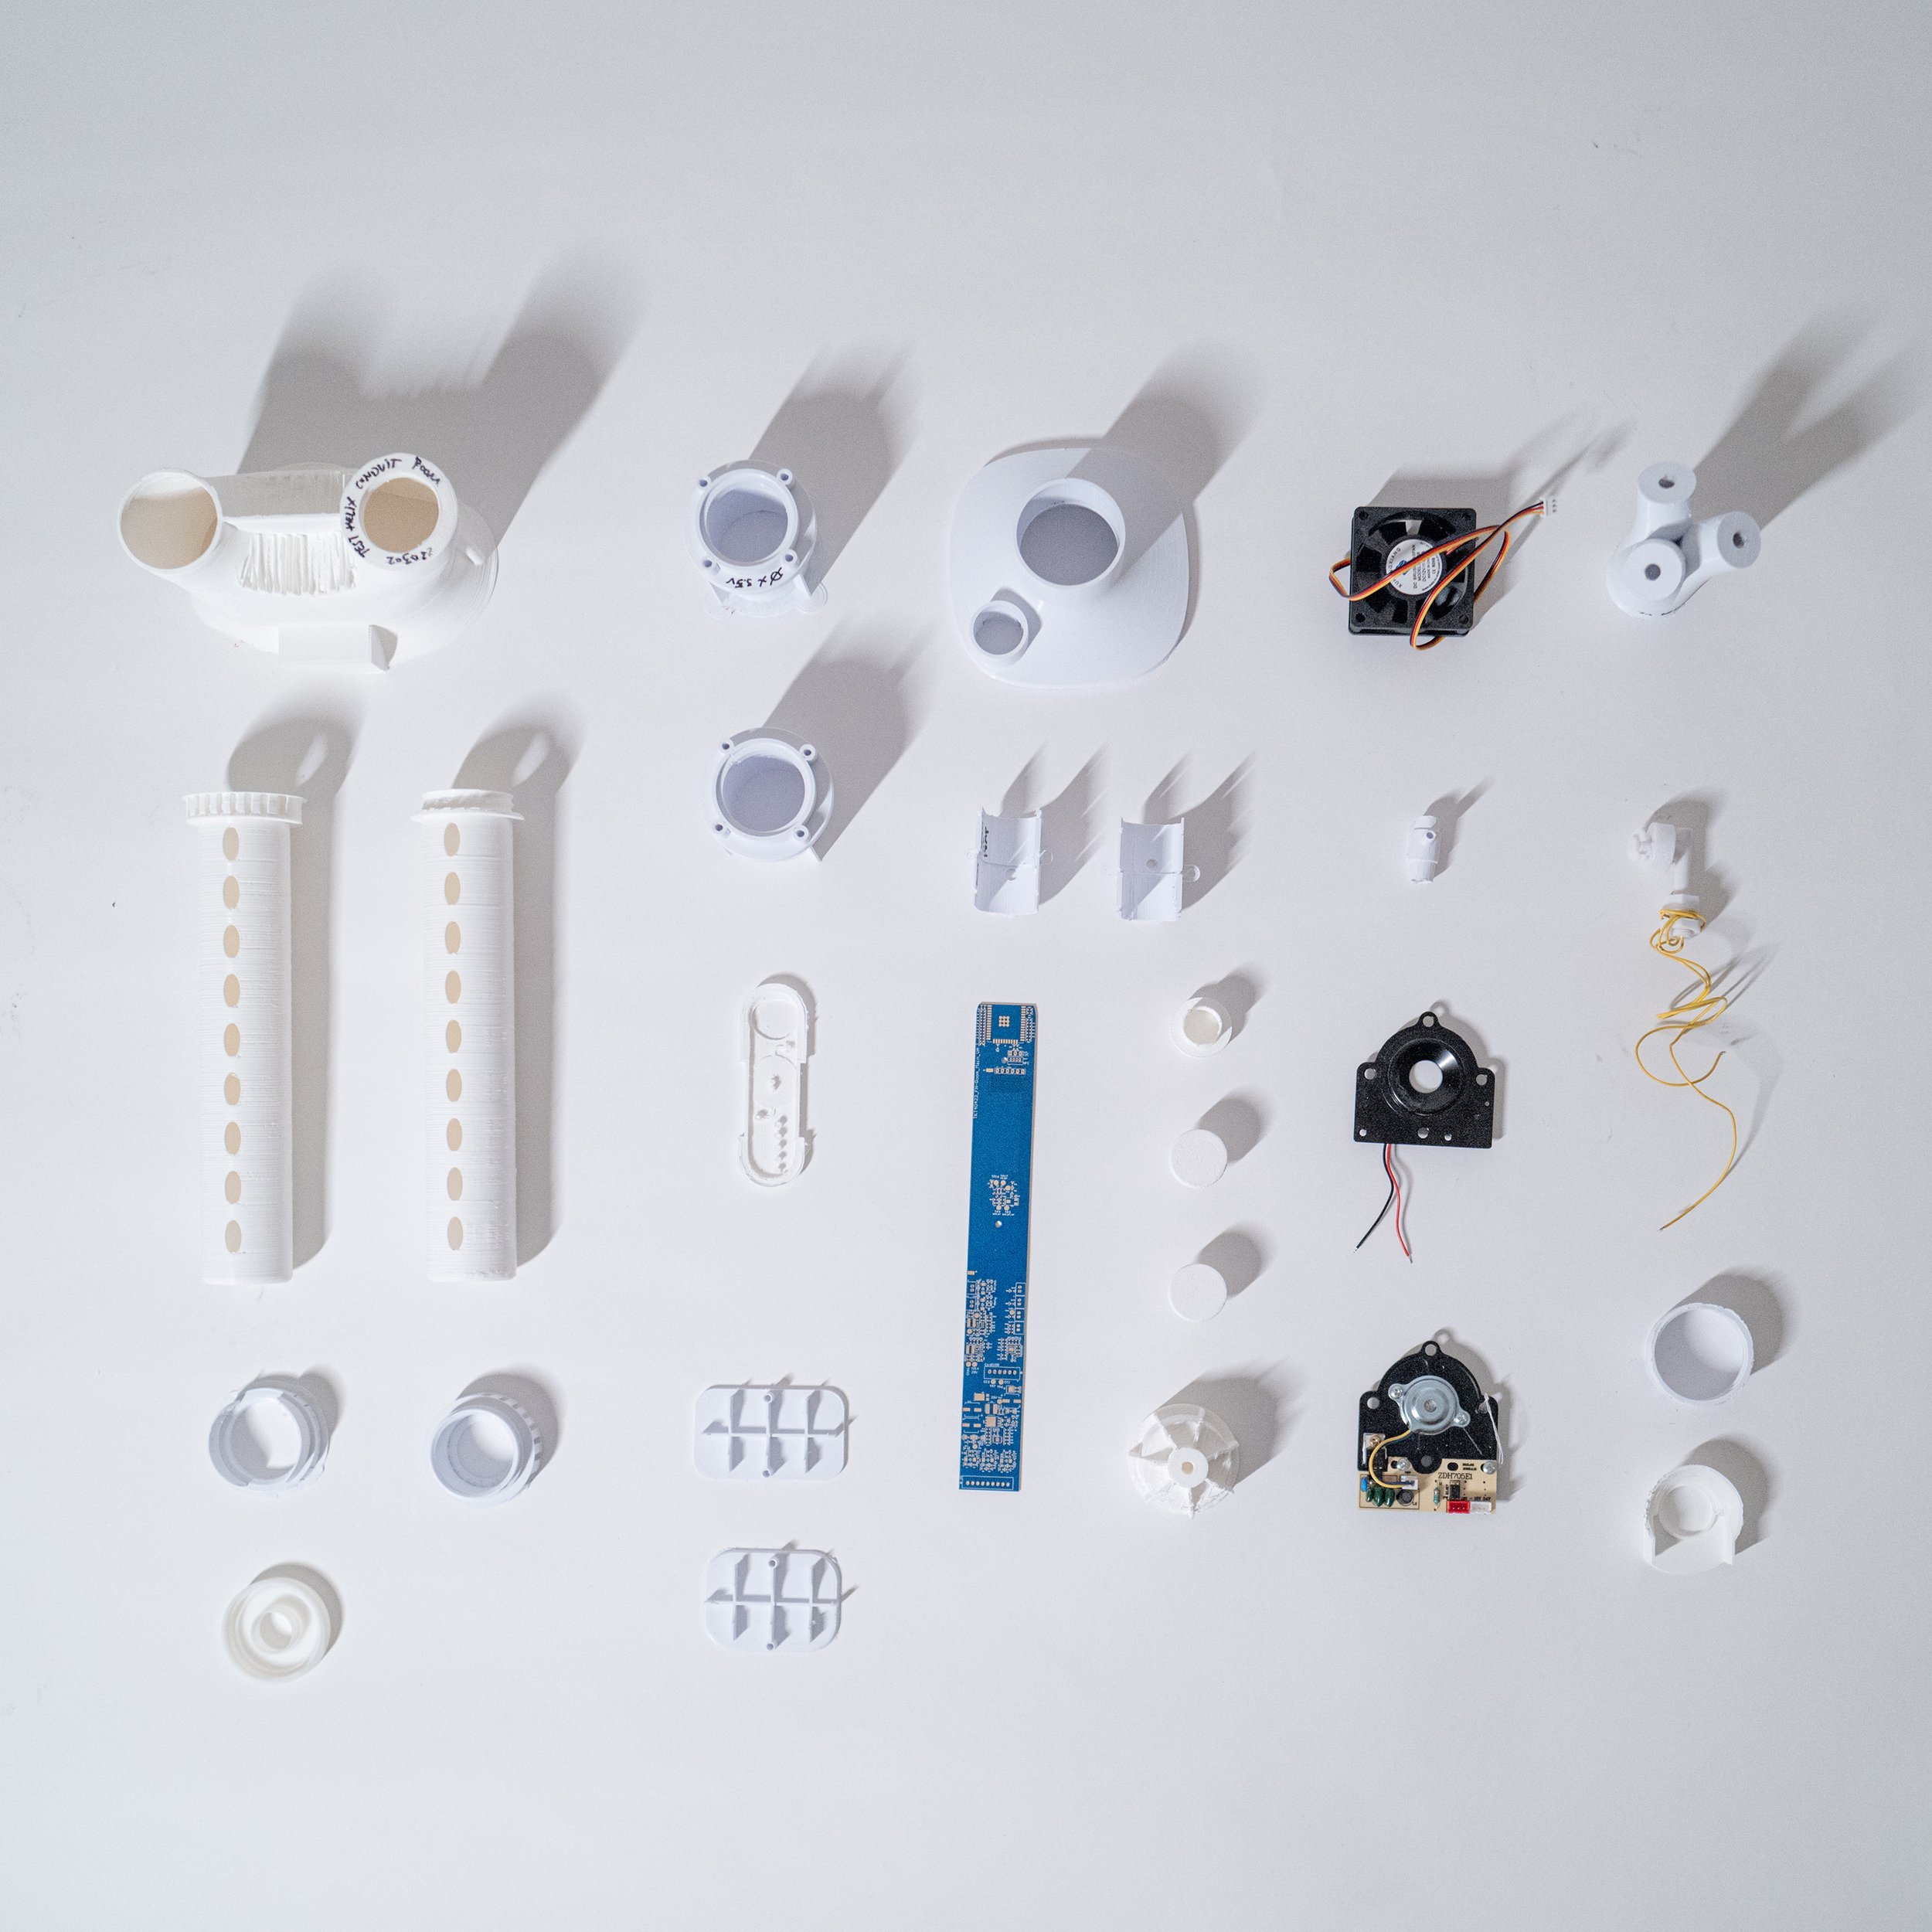
A rapid prototype is a functional model where the main design features begin to come together into a physical product.
It usually includes structural components, electronics integration, and user interaction elements.
Unlike concept sketches, this prototype gives you a more realistic version to check if the overall design and functionality make sense.
We usually create full functional models in different rapid prototyping methods like 3D printing, SLA, and CNC machining.
While a rapid prototype may look close to the final product, some parts or functions may still be adjusted depending on what is being tested.
Pre-production Prototype
A pre-production prototype is where the product starts to closely resemble the final version in both design and function.
The focus is no longer on testing the idea, but on checking how the real product will perform before full production starts.
The parts are usually made using production-ready designs, but some components may still be made through rapid prototyping methods like 3D printing, CNC machining, or casting.
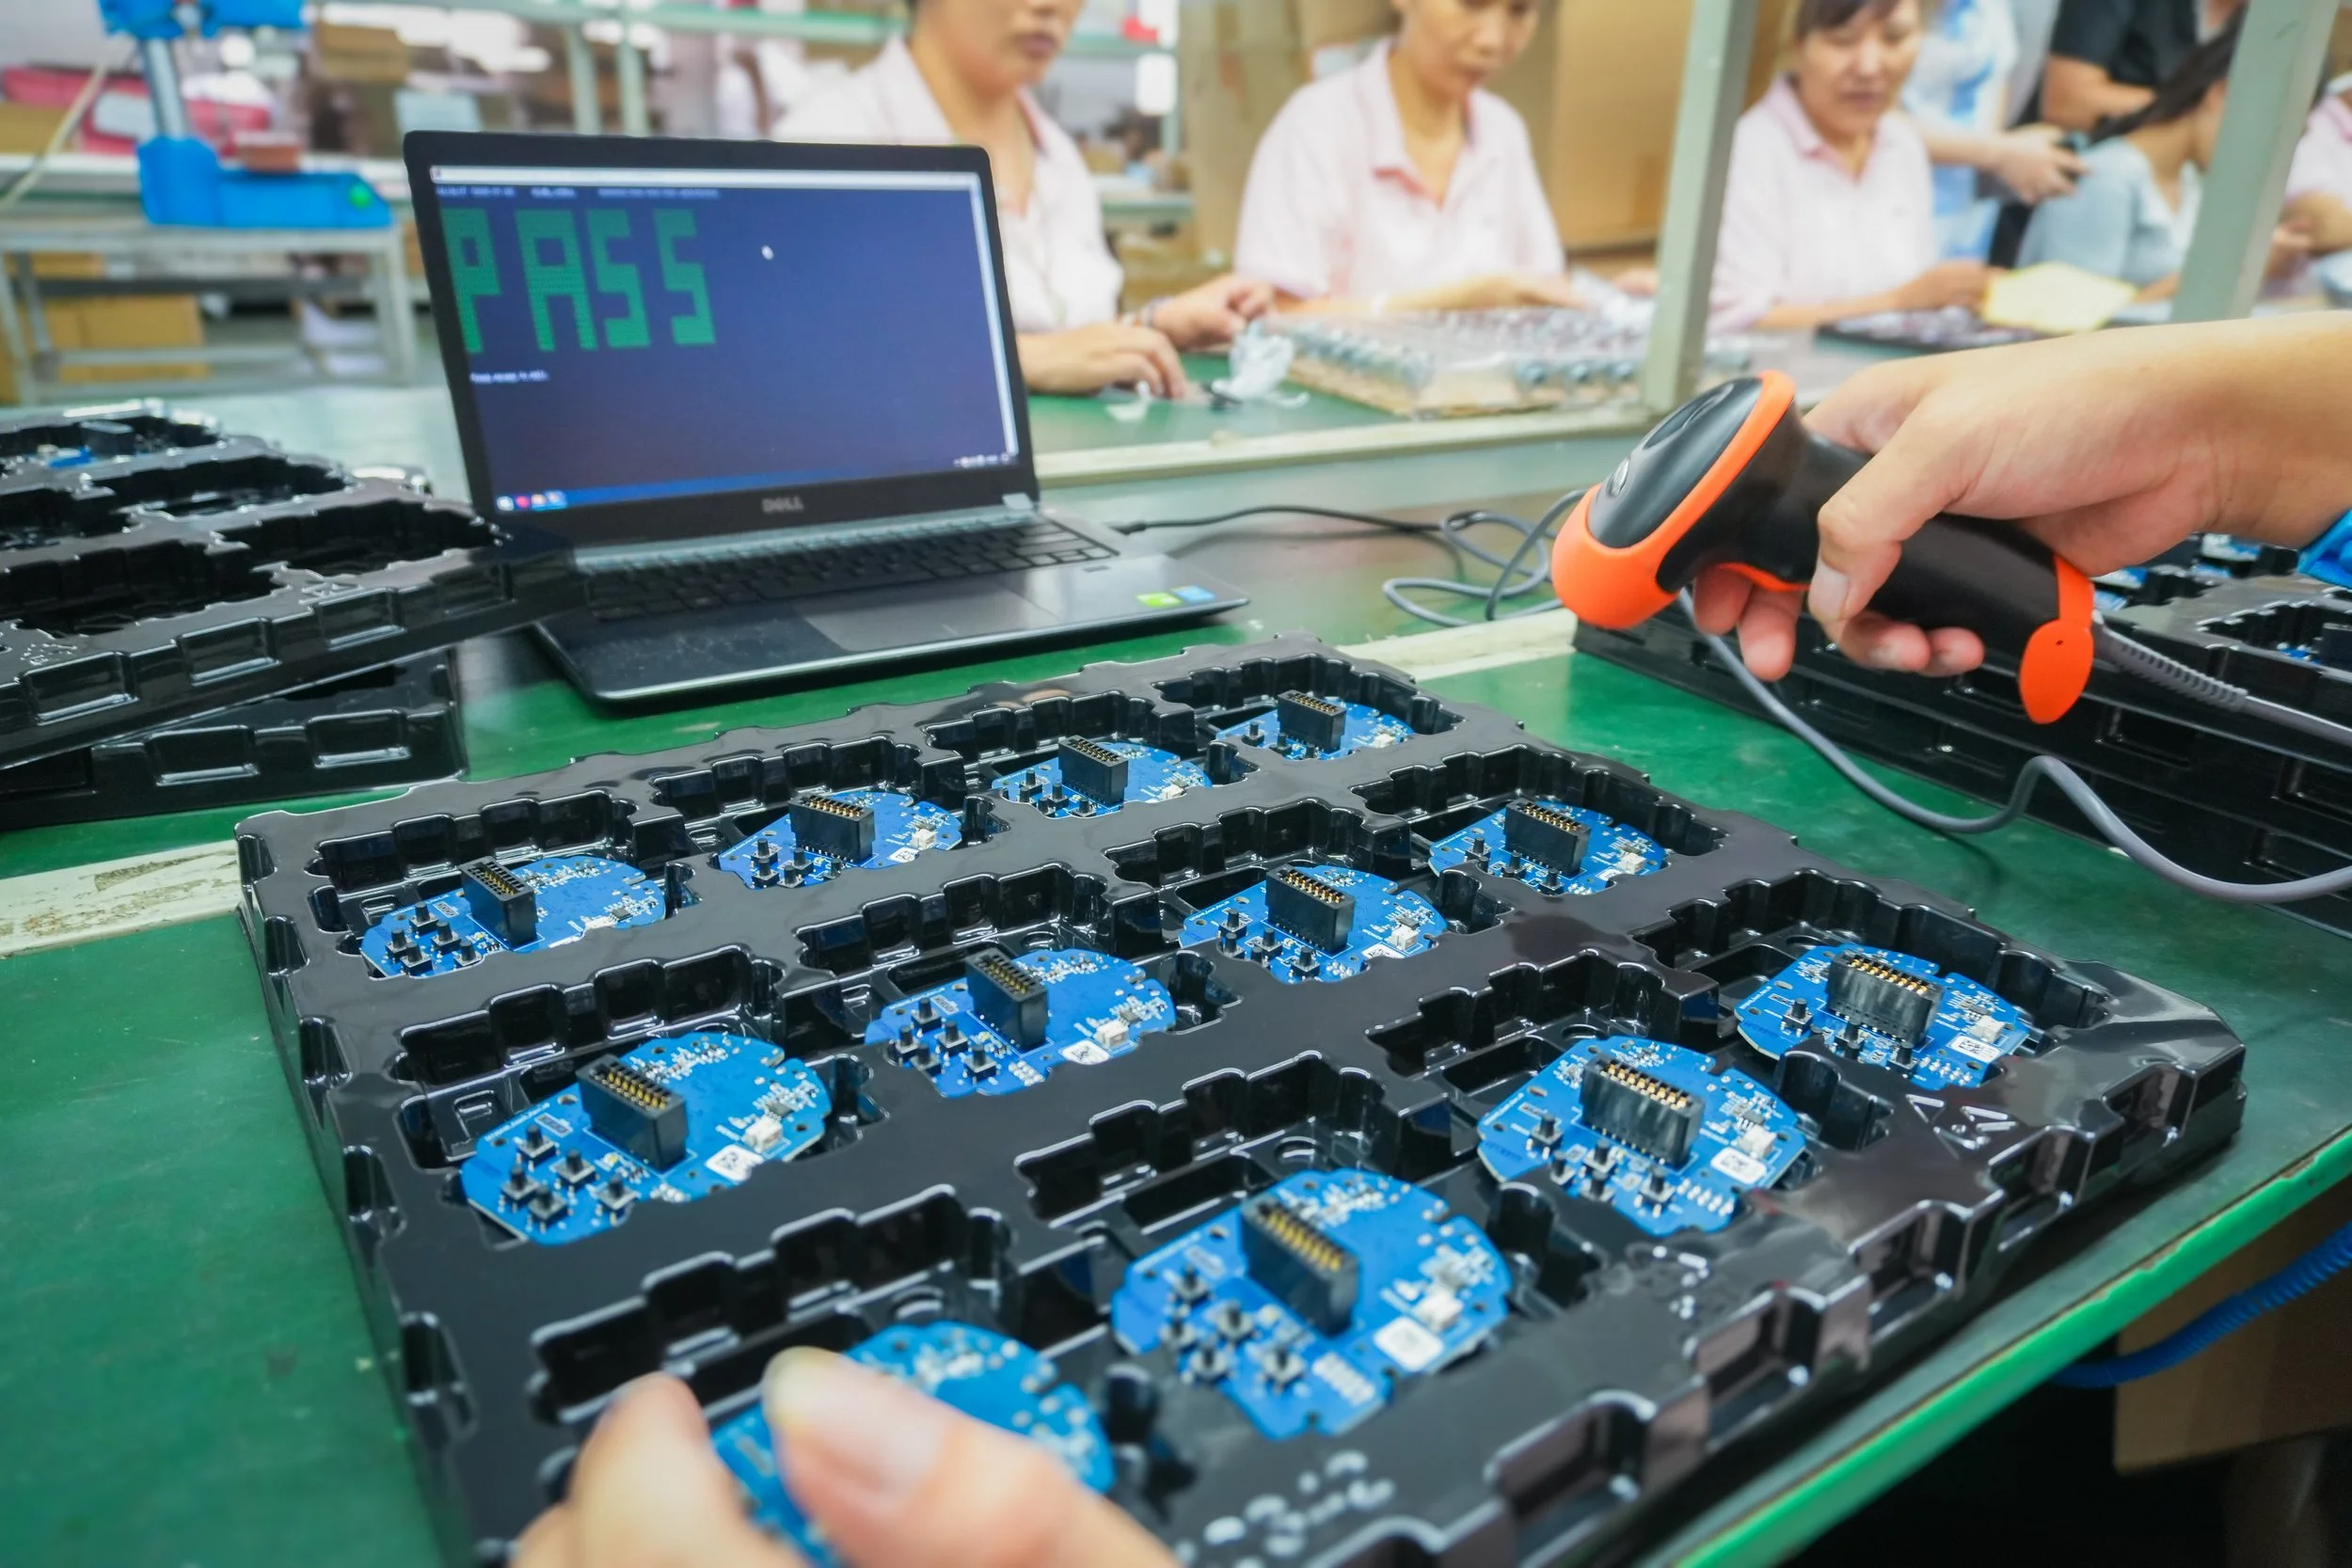
For products with electronics, this stage involves electronic engineering testing of low-volume PCB boards, firmware installation, connectivity validation, and functional checks to ensure all core systems work as intended.
This validates both the product and the production process, helping identify fitting issues, design mistakes, material limits, or assembly challenges early.
Production Prototype
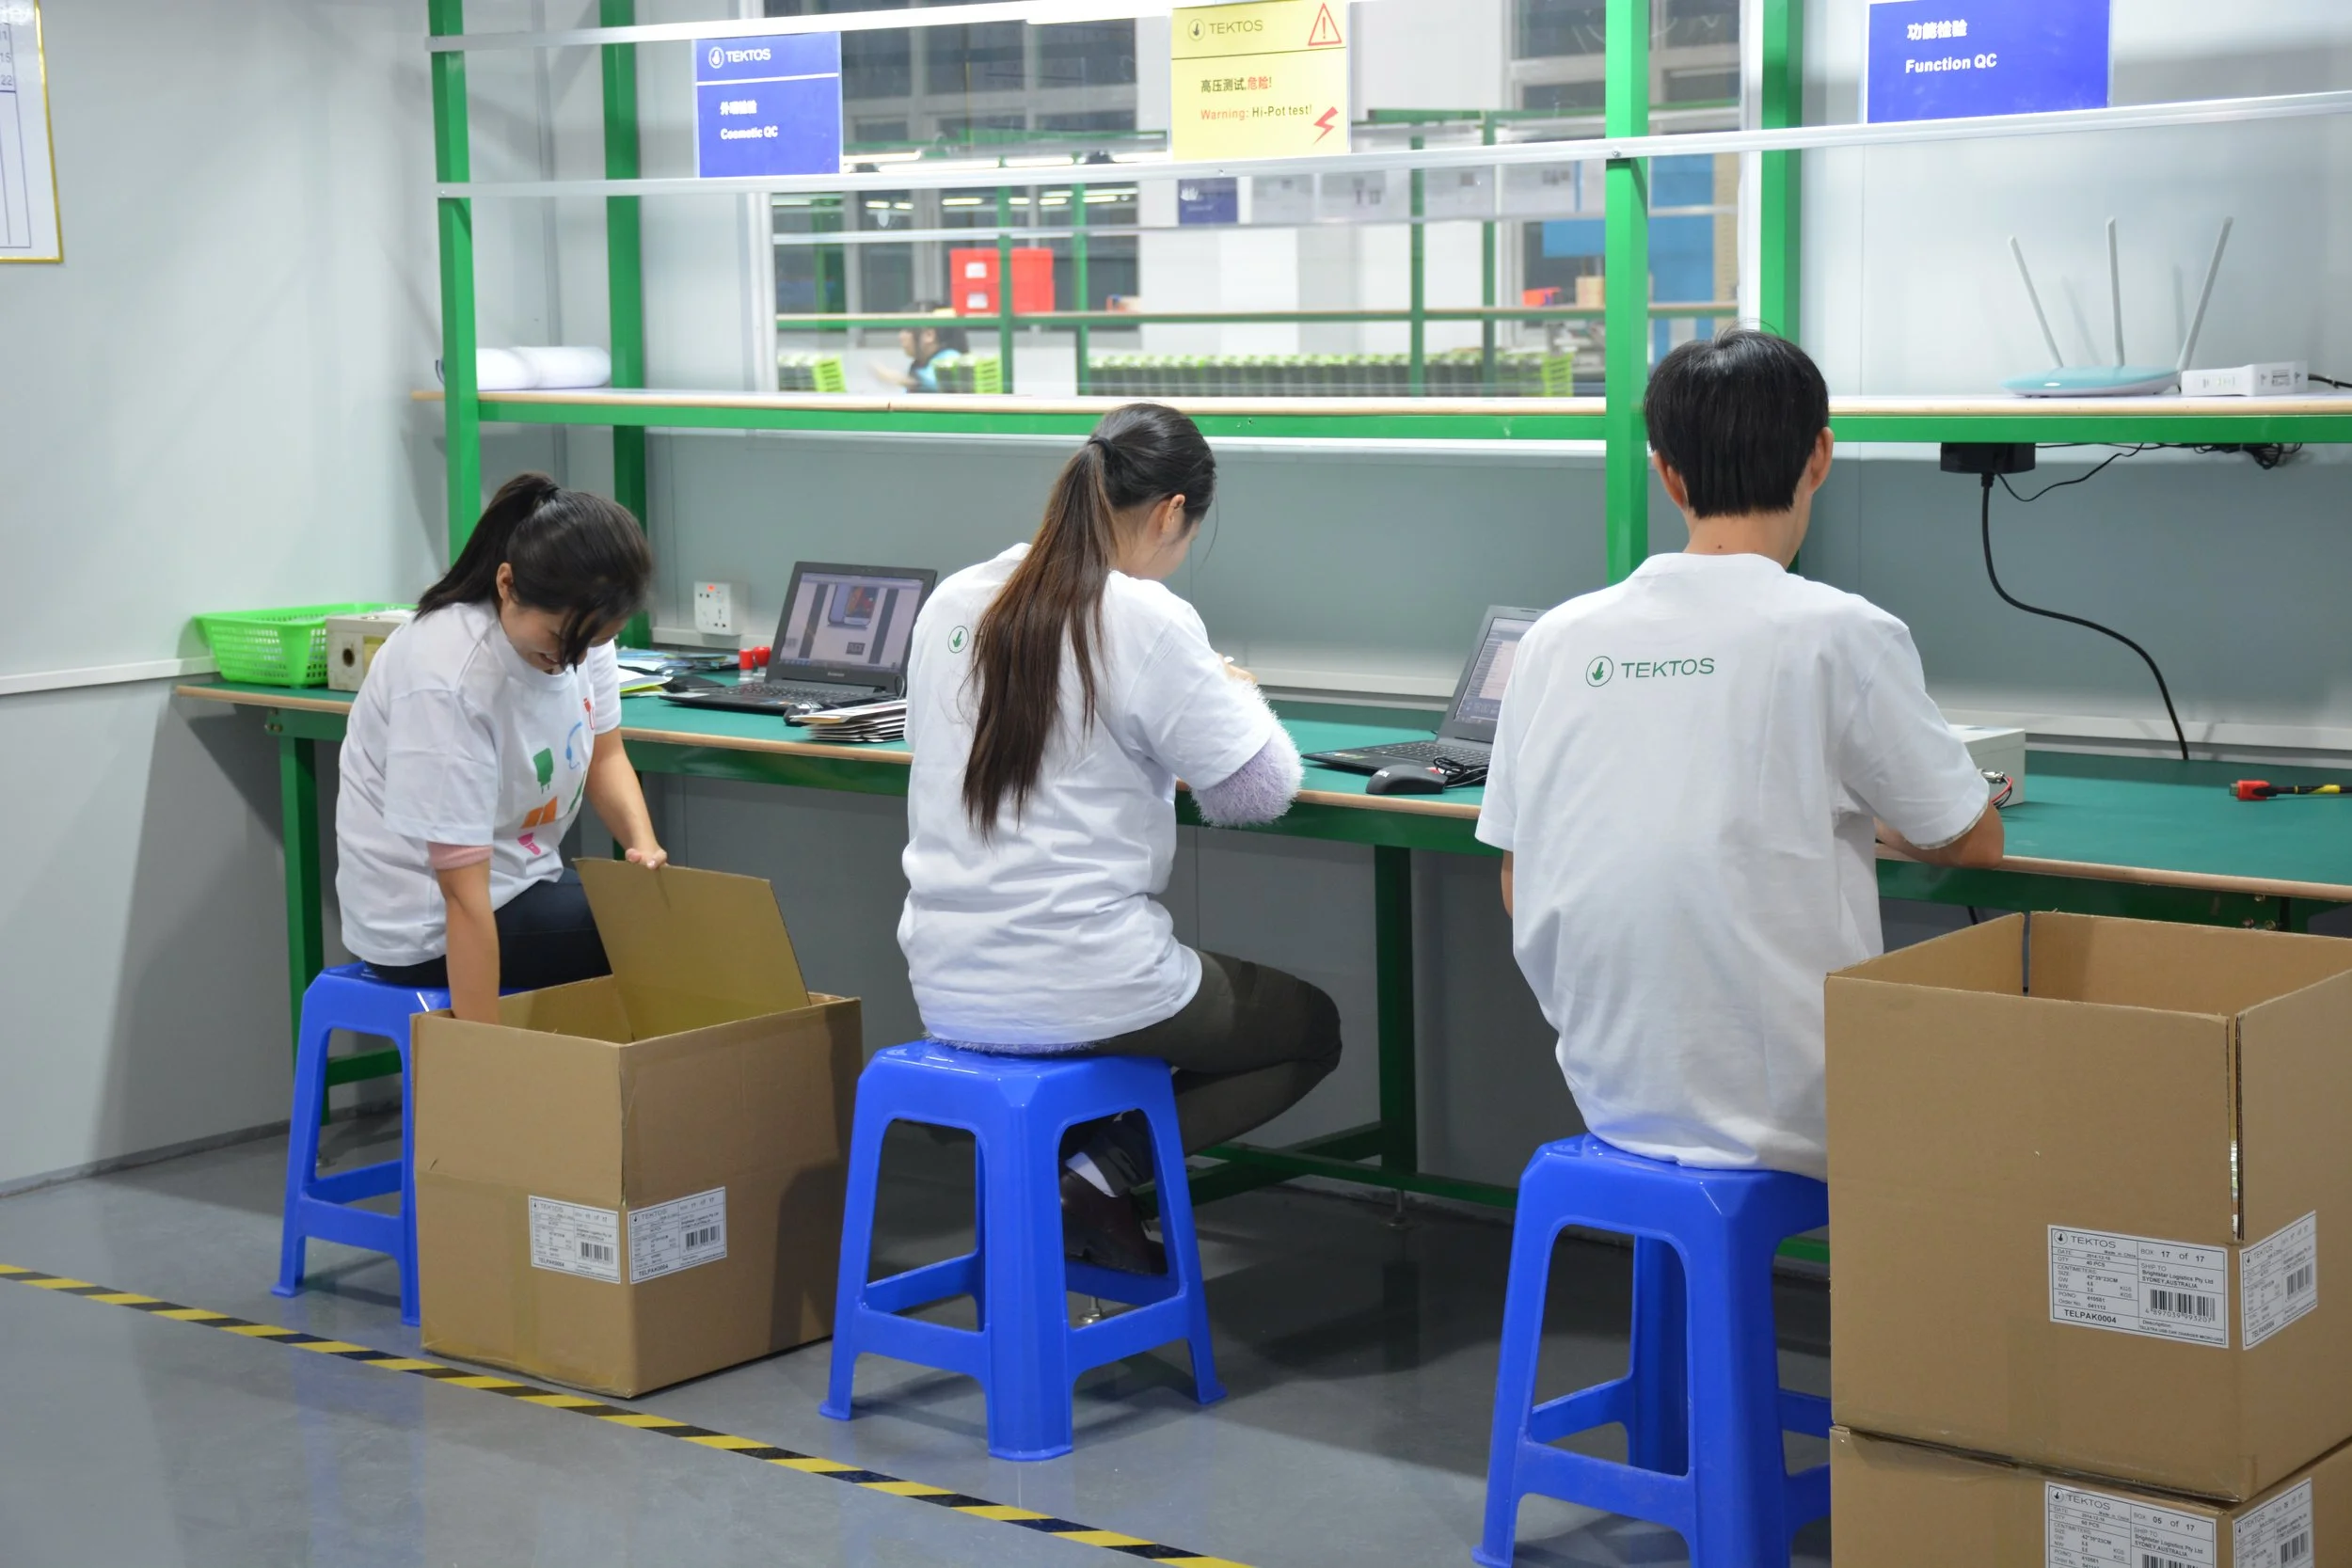
A production prototype is the final version of the product built exactly the way it will be manufactured and delivered to customers.
At this stage, the design, materials, and production process are already finalized. Our team also carries out strict quality control (QC) where the product is carefully checked to make sure it is aligned with the required specifications.
In some cases, these early production units are also tested by selected users to gather final feedback. Once approved, the product is ready to move into mass production and enter the market.
Common Prototyping Methods
There are lots of ways to make prototypes, and the best methods we use depend on what product you are building, how complicated it is, and where you are in the process.
In the broader product development process, prototyping sits between design and engineering validation, helping teams test ideas before moving into full production.
Each approach helps your team quickly try out different parts of a design to see what works:
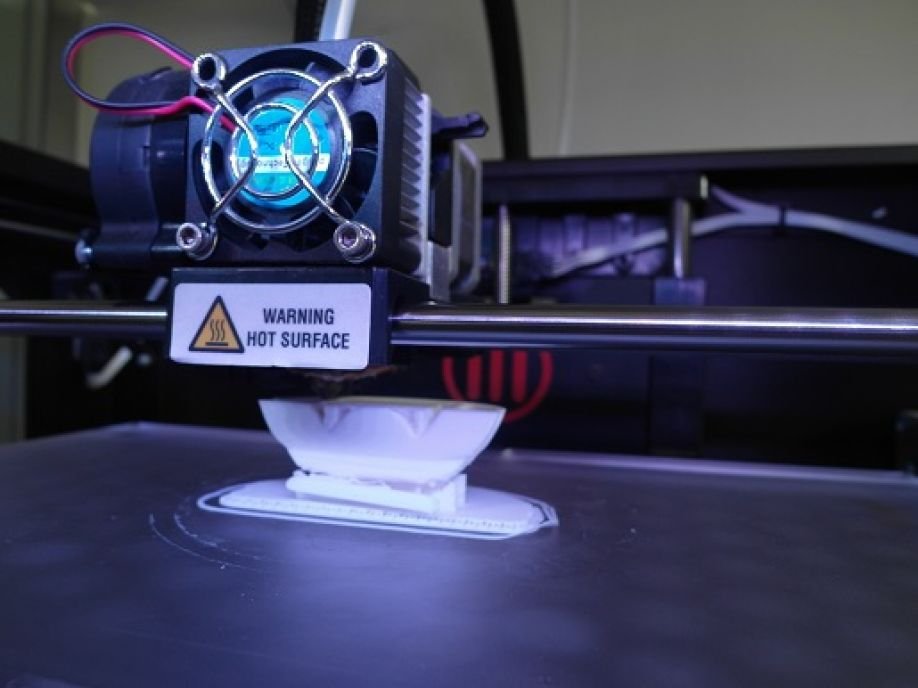
3D Printing
This is one of the most popular prototypes that we do. It works by building objects in one thin layer at a time from a digital design. It’s quick, not too expensive for small runs, and great for checking if things look right, fit together, or do what they’re supposed to do.
CNC Machining
In this method, we use computer-controlled cutting tools to shape prototypes from solid materials like metal or plastic. It is very accurate and can produce strong, durable parts. This makes it a good choice for testing how a product works.
Injection Molding
This is helpful when we want to test prototypes using the actual materials planned for production. By making a simple mold, we can produce prototypes parts that give better idea of how the final product will look and work.
CAD & Simulation
Before we make a physical prototype, our mechanical engineering team uses CAD software and simulation tools to test the design virtually. These tools help us check strength, movement, stress, and assembly. This saves time and lowers the cost of making too many physical prototypes.
Cost of Prototyping
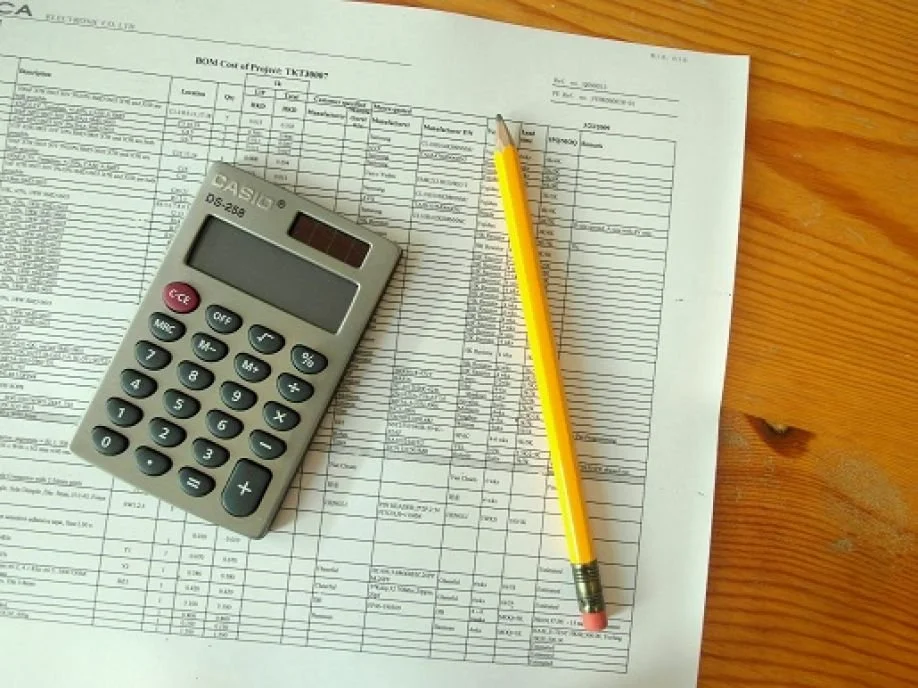
Prototyping costs can really vary depending on the complexity of the product, materials used, and number of iterations required.
For simple prototypes like sketches or foam models, the cost is usually low since you only need basic materials and tools. But once we need to move into more advanced prototypes, like those involving CNC machining, electronics, or several rounds of revisions, the costs can go up quite a bit.
Things that usually affect the cost are:
The materials you choose (plastic, metal, or specialty materials)
The manufacturing process (like 3D printing, CNC machining, or injection molding)
How detailed or complex the design is, including the number of parts
How many revisions or improvements are needed
Whether electronics or software need to be added
At first, prototyping can feel expensive. But in the bigger picture, it helps save money. It lets you spot design problems early, which is much cheaper than fixing them later when the product is already in mass production.
Best Practices
When it comes to prototyping, one thing we’ve learned from experience is that having the right process makes a huge difference.
Over the years, we’ve worked on different product ideas and faced all kinds of development challenges.
Prototyping isn’t just about building something; it’s about making sure you’re building the right thing in the smartest way possible.
If you’re planning to develop a prototype, here are some practical tips based on what we do and what we’ve seen work in real projects:
Start simple, then improve as you go
One of the biggest mistakes we often see in our clients is that they are trying to make the prototype look and feel like the final product right away. Our advice? Keep it simple at the start. Build a basic version first so you can test the idea quickly, make changes easily, and avoid spending too much too soon.
Focus on making it work first over appearance
A common challenge in early product development is focusing too much on appearance. From our experience, what matters first is functionality. If the product doesn’t work the way it should, appearance won’t matter. Make sure the concept works first, polishing it can come later.
Test early and keep testing
We always encourage our clients to take tests as early as possible. You don’t have to wait until everything feels “perfect” before testing. In fact, the earlier you test, the better. Early feedback helps you spot issues faster and gives you a clearer direction for improvements.
Keep track of your progress
Every change, test result, and piece of feedback matters. We always recommend documenting each version because it helps you see what’s working, what’s not, and prevents you from making the same mistakes again.
Get real feedback from real people
One of the best ways to improve a product is by hearing from the people who use it. We always encourage our clients to involve users early because their feedback can reveal things you might miss.
When to Move to Production
One of the biggest questions in product development is knowing when the prototype is ready for full production.
From our experience, moving too fast can lead to expensive mistakes, production issues, or product failures. But waiting too long can also slow down your launch and delay opportunities.
Signs you’re ready to move into production are when:
Your prototype works consistently perform as expected
Major design problems have been identified and solved
Your materials and manufacturing process are finalized
User testing confirms the product is meeting expectations
The production process is stable, repeatable, and scalable
If you’re planning to build a prototype or you’re not sure what the next step should be, it helps to talk to a team that has been through the process and understands both the technical and practical side of product development.
This is exactly what Tektos Ecosystems’ team does. We partner with clients to turn their ideas into functional prototypes and production-ready products, from the concept of validation all the way to manufacturing.
FAQs
-
There’s no fixed number of prototypes needed because every product is different.
Some simple products may only need one or two prototype versions before they’re ready, while more complex products can go through several rounds of testing and improvements.
It really depends on how many issues come up during testing and how much refinement is needed.
-
Yes, but it’s usually not a good idea.
Skipping prototyping means going straight from idea to production without properly testing the product first. That can be risky because problems that seem small in the design stage can become expensive mistakes later.
For example, you might discover that the product is difficult to assemble, or the material doesn’t perform as expected.
Prototyping helps catch those problems early when changes are still easier and cheaper to make.
-
A prototype and an MVP (Minimum Viable Product) serve different purposes.
A prototype is mainly for testing ideas, design, and functionality during development. It helps the team learn, experiment, and improve the product before it’s finalized.
An MVP is a simplified version of the product with the core features that are ready to be used by real customers to test if people want it.